There are several potential reasons why a Keurig may not be working even after descaling. Firstly, residual scale or mineral buildup may persist despite descaling efforts, leading to continued clogging of the internal components.
Secondly, descaling could uncover pre-existing issues with the machine, such as a malfunctioning pump or a blocked water line. If these problems are not addressed during descaling, they can persist and affect the overall functionality of the Keurig.
Additionally, descaling might reveal hidden damage or wear in components like the heating element or the brewing chamber, contributing to operational issues.
Common Reasons for Keurig Not Working After Descaling
A Keurig coffee maker not working properly after descaling can be frustrating. Descaling is an essential maintenance procedure to remove mineral deposits and ensure the longevity and performance of your machine.
However, if you are still facing issues and your Keurig is not functioning as expected after descaling, there could be a few possible causes. Let’s explore each of these potential reasons:
Improper Descaling Procedure
An improper descaling procedure can hinder the effectiveness of the cleaning process and lead to your Keurig not functioning properly afterward. If you haven’t followed the correct steps, some mineral buildup may remain, causing blockages or other problems. Here are a few common mistakes that could impact your Keurig’s performance:
- Not using the recommended descaling solution: While descaling, it’s crucial to use a descaling solution specifically designed for Keurig machines. Using alternative cleaning agents or vinegar can leave behind residue and affect the taste of your coffee.
- Skipping important steps: Follow the descaling instructions provided by Keurig carefully. Neglecting any steps or rushing through the process may result in incomplete descaling.
- Insufficient rinsing: After descaling, thoroughly rinse the water reservoir and run multiple brew cycles with clean water to ensure all descaling solution is removed. Residual descaling solution can hinder the functionality of the machine.
Mineral Buildup In The Machine
Even with descaling, some mineral buildup may persist within the internals of your Keurig. Over time, these deposits can accumulate and cause blockages, affecting water flow and performance. Here are a few signs that mineral buildup might be the issue:
- Slow brew time: If your Keurig takes much longer than usual to brew a cup of coffee, it indicates potential mineral blockage.
- Inconsistent water flow: Insufficient water flow or intermittent bursts while brewing could be a result of mineral buildup.
- Unusual noises: If your Keurig is making unusual noises during operation, it could be due to mineral deposits affecting the internal mechanisms.
Troubleshooting Steps To Fix Keurig Not Working After Descaling
There are some troubleshooting steps you can take to get your Keurig up and running again. We will explore three essential troubleshooting steps that will help you resolve the problem and enjoy your favorite brew without any hassle. Let’s dive in!
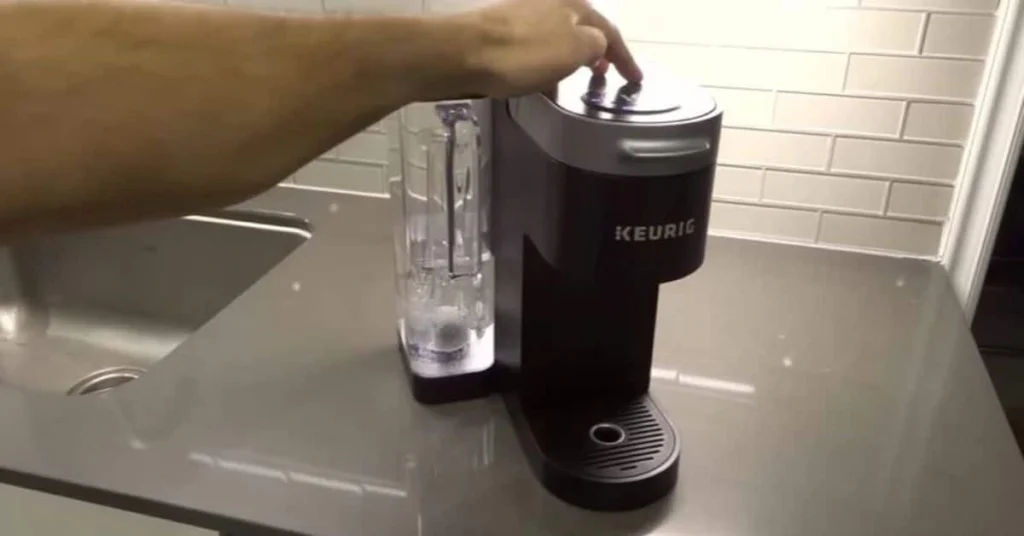
1. Repeating Descaling Process Correctly
If your Keurig is not working after descaling, there could be a possibility that the descaling process was not carried out correctly. Descaling helps remove mineral buildup, which can affect the machine’s functionality. To ensure you have effectively descaled your Keurig, follow these steps:
- Begin by powering off and unplugging your Keurig machine.
- Remove the water tank and empty any remaining water.
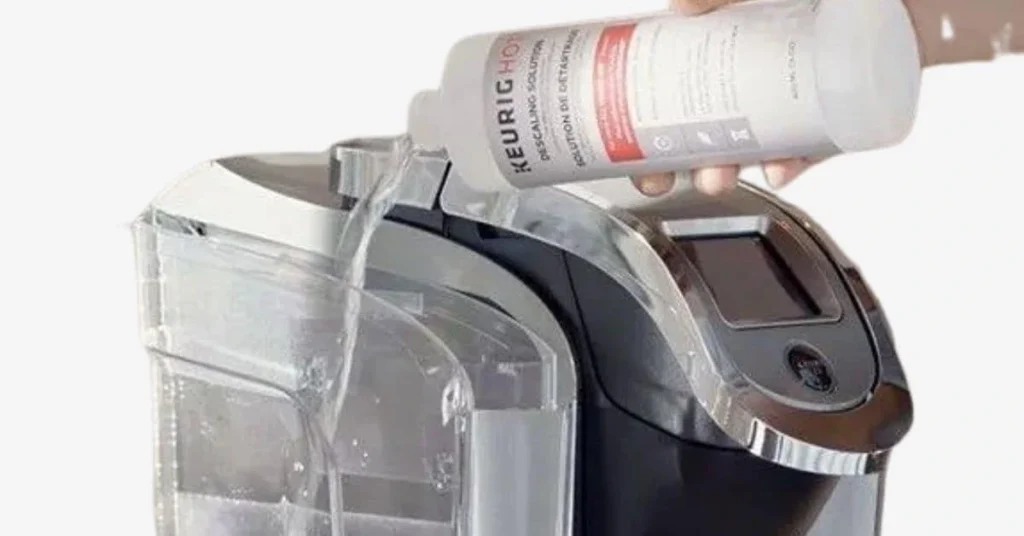
- Prepare the descaling solution by following the instructions provided.
- Pour the solution into the water tank, filling it to the suggested level.
- Place an empty mug or cup on the drip tray.
- Turn on your Keurig and begin the descaling cycle.
- Allow the solution to flow through the machine and into the cup.
- Repeat this process at least two more times to ensure thorough descaling.
- Once finished, rinse the water tank and fill it with clean water.
- Run a few cycles of just water to rinse out any remaining descaling solution.
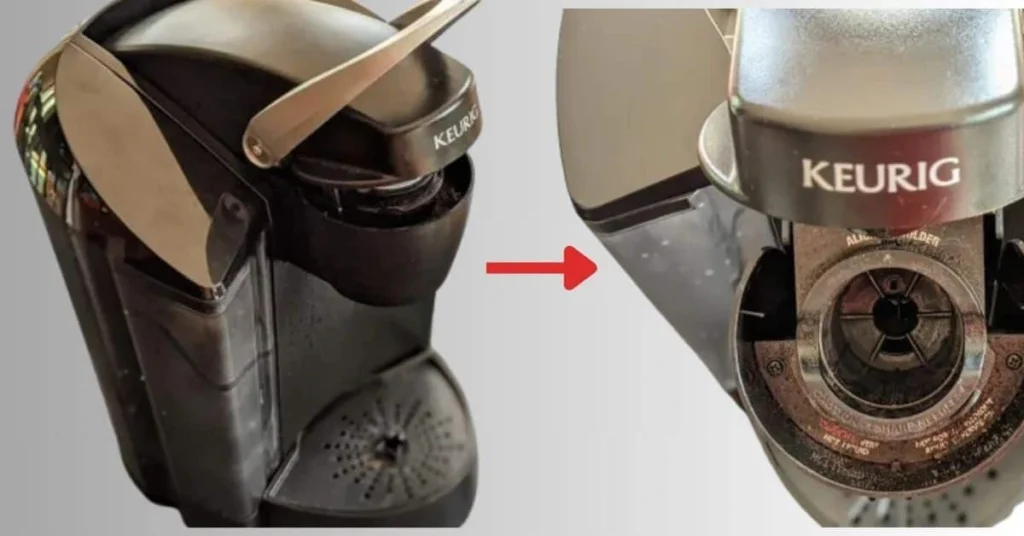
2. Cleaning Out Mineral Buildup
If repeating the descaling process did not solve the issue, the mineral buildup may still be causing your Keurig to malfunction. Minerals like calcium and lime can accumulate over time, clogging the machine and affecting its performance. In this case, it’s important to clean out any mineral buildup. Follow these steps to get your Keurig working again:
- Unplug the Keurig from the power source.
- Remove the water tank and empty any water left inside.
- Using a clean, damp cloth, wipe the surface of the machine to remove any dirt or residue.
- Locate the exit needle and carefully remove any debris or mineral buildup using a paper clip or a toothpick.
- Inspect the K-cup holder for any clogs or buildup. Clean it thoroughly using a cloth or a toothbrush.
- Reassemble the machine and give it a quick wipe-down.
- Plug the Keurig back in and test if it’s working properly.
- If the problem persists, proceed to the next step.
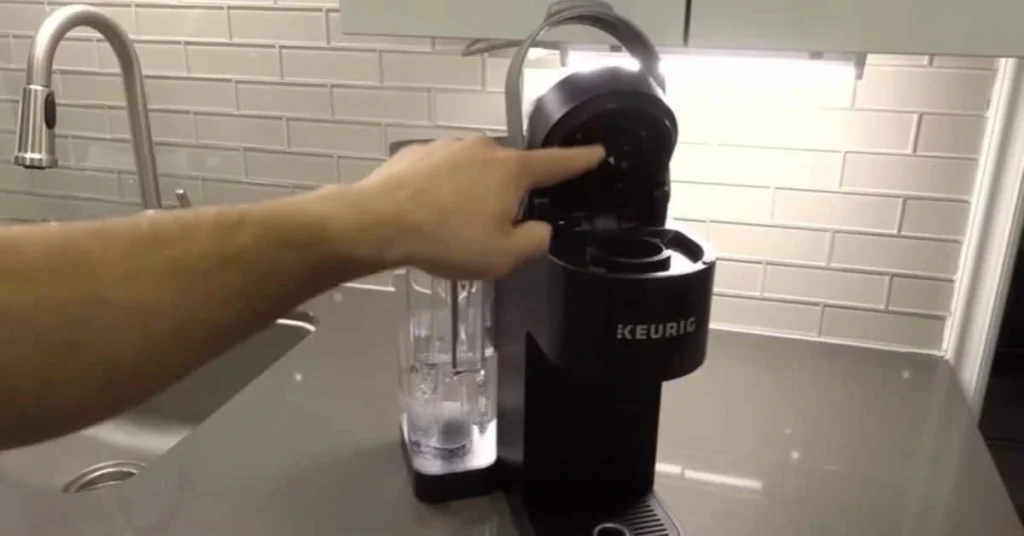
3. Checking And Unclogging Water Lines
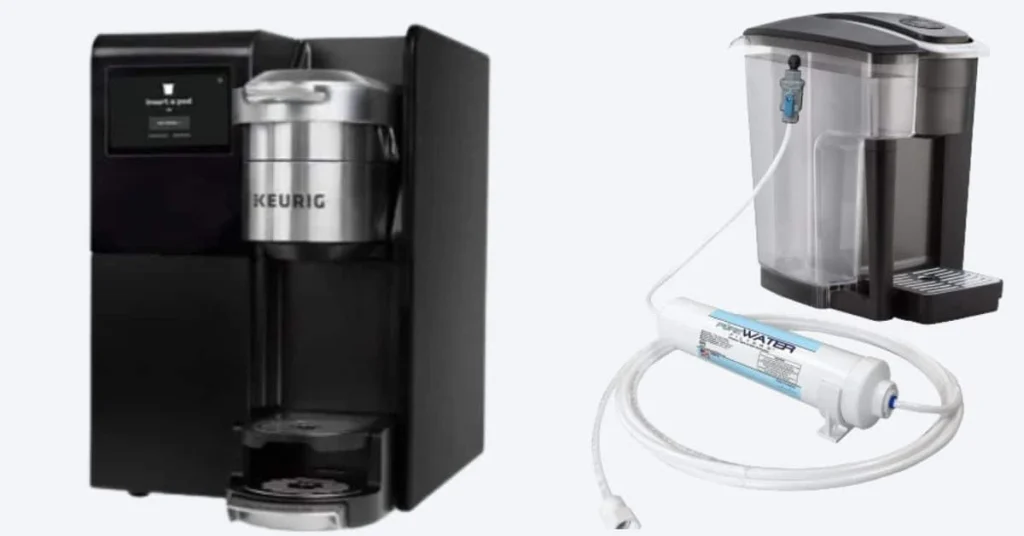
When Keurig is not working after descaling and cleaning out mineral buildup, it’s time to inspect the water lines. These lines channel water through the machine to brew your favorite beverages. Follow these steps to ensure the water lines are functioning correctly:
- Unplug the Keurig machine and remove the water tank.
- Inspect the water reservoir for any debris or clogs. Clean it thoroughly if needed.
- Detach the water lines from the machine, ensuring they are not kinked or tangled.
- Inspect the lines for any clogs or obstructions. Remove any debris using a cloth or a toothpick.
- Reconnect the water lines and ensure they are securely attached.
- Replace the water tank and plug the Keurig back in.
- Test the machine to see if it’s working properly.
You can resolve the issue of your Keurig. Remember to repeat the descaling process correctly, clean out any mineral buildup, and check and unclog the water lines. With a little patience and effort, you’ll soon be enjoying a delicious cup of coffee from your Keurig once again.
Recommended Post: Keurig Not Working After Cleaning With Vinegar
Preventive Measures For Maintaining Keurig’s Performance After Descaling
Descaling your Keurig coffee machine regularly is crucial to keep it running optimally. However, after the descaling process, there are a few preventive measures you can take to ensure that your Keurig continues to perform at its best. By following these simple steps, you can avoid common issues that may arise after descaling, such as the Keurig not working properly.
Regularly Descaling The Machine
The first preventive measure is to continue descaling your Keurig regularly. Descaling removes mineral deposits and build-up that can impede the machine’s performance.
Over time, these deposits can clog the internal components, causing issues like slow brewing or inconsistent water flow. To avoid such problems, it is recommended to descale your Keurig every three to six months, depending on the water hardness in your area. Regular descaling ensures that your machine functions at its best, preventing any potential issues.
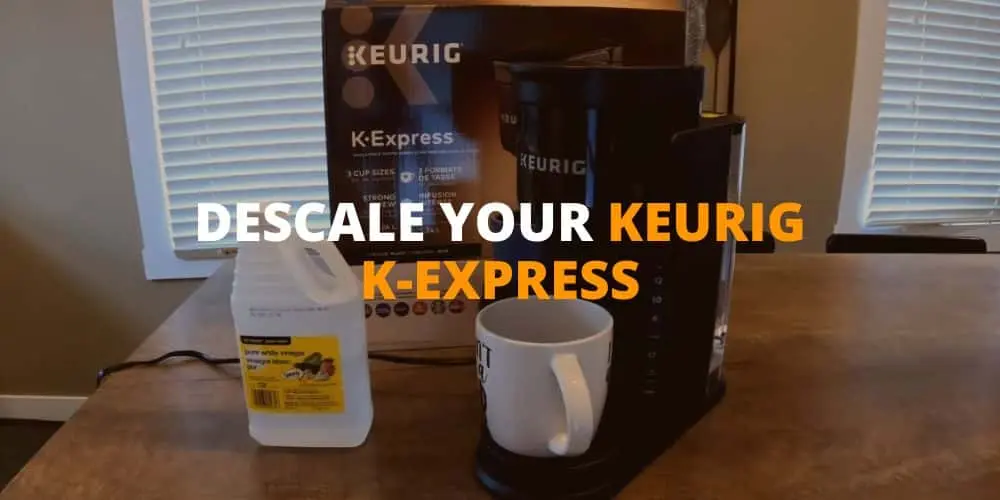
Related Read: How To Descale Keurig K-Express
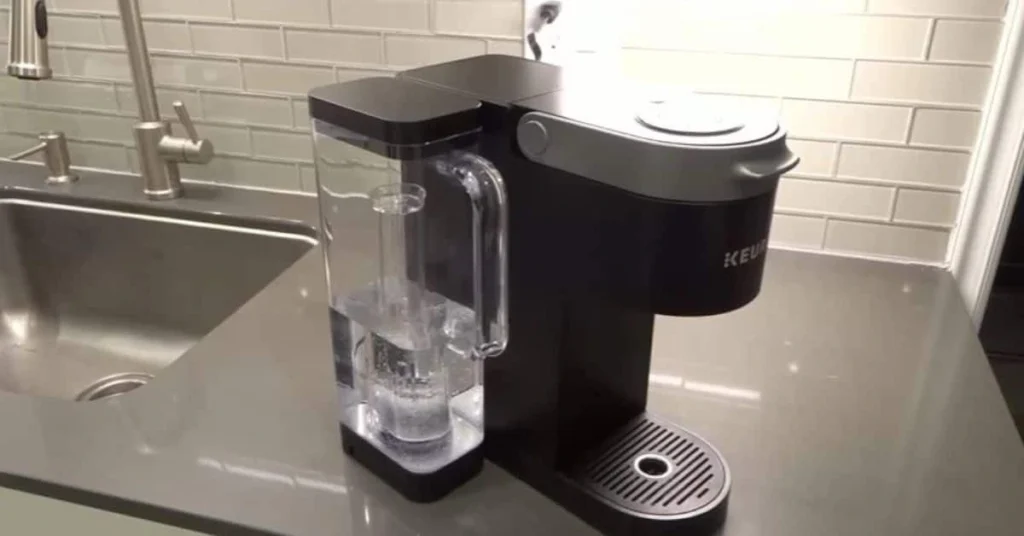
Using Filtered Water
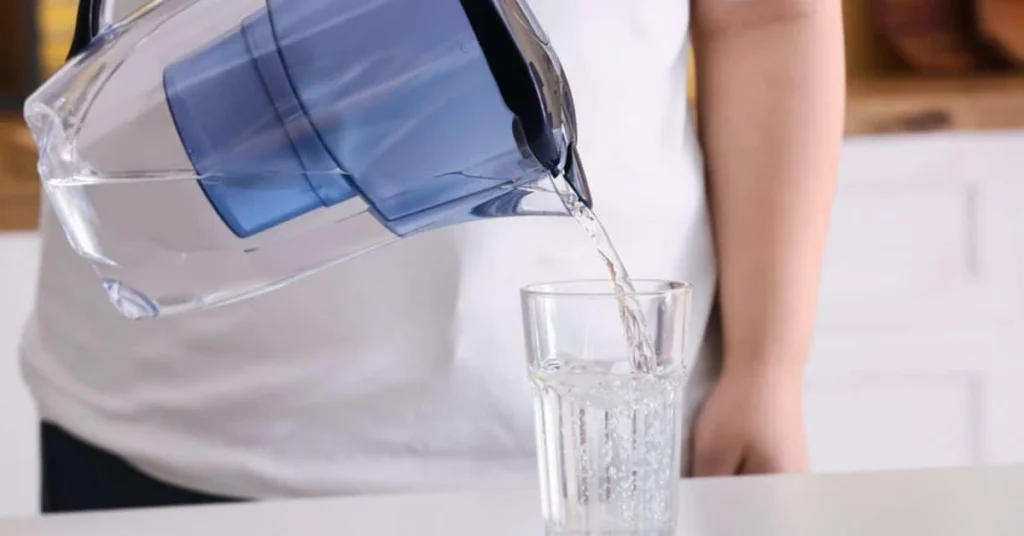
Another important preventive measure is to use filtered water in your Keurig. Tap water often contains impurities and minerals that can accumulate over time and affect the machine’s functionality.
By utilizing filtered water, you can minimize the accumulation of mineral deposits, extending the lifespan of your Keurig. This simple step not only improves the taste of your coffee but also helps maintain the performance of your machine.
Investing in a water filtration system or using filtered water from a pitcher can make a significant difference in preventing issues after descaling.
Proper Storage And Cleaning Practices
Proper storage and cleaning practices are essential for maintaining the performance of your Keurig after descaling. After each use, it is crucial to empty the water reservoir and remove any remaining coffee or tea pods to prevent mold or bacterial growth.
Additionally, regularly cleaning the external parts of the machine with a damp cloth and mild detergent helps keep it free from any residue or dirt that can affect its performance. Lastly, it is advisable to store your Keurig in a dry and clean area to prevent any damage caused by moisture or dust.
Conclusion
Experiencing issues with your Keurig not working after descaling can be frustrating, but it’s important not to panic. Ensuring proper maintenance practices, you can often resolve the issue and get your Keurig back to brewing your favorite beverages in no time. Remember to regularly descale and clean your Keurig to keep it running smoothly and enjoy delicious coffee with every cup.
Ronsil
Meet Ronsil, the master barista behind EspressoRivo. With years of experience in the coffee industry, he brings a wealth of knowledge and passion to the table. As the owner of a successful coffee shop, Ronsil is a sought-after adviser in the field. His expertise and love for the craft shines through in every cup he serves. We are honored to have him as part of our team at EspressoRivo