If you’re a coffee lover, you know that nothing beats the aroma and flavor of freshly roasted coffee beans. While buying pre-roasted beans is convenient, roasting your own coffee beans at home can be a fun and rewarding experience. Not only can you experiment with different roast levels and flavor profiles, but you can also save money in the long run.
Coffee roasting has been around for centuries, dating back to the 15th century when coffee was first introduced to Yemen. Back then, coffee beans were roasted over an open fire in small batches. Today, coffee roasting has evolved into a complex process that involves a variety of machines and techniques. But you don’t need a fancy roaster to roast coffee beans at home – you can use your oven!
Roasting coffee beans in your oven is becoming more popular, and for good reason. Not only is it affordable and accessible, but it also allows you to customize the roast level to your liking. In this article, we’ll provide you with a step-by-step tutorial on how to roast coffee beans in your oven, from choosing the right beans to storing your freshly roasted coffee. So grab your favorite mug, and let’s get started!
Choosing the Right Coffee Beans
The first step in roasting coffee beans in your oven is to choose the right beans. Not all coffee beans are suitable for roasting in an oven, so it’s important to select the right ones.
When choosing coffee beans for roasting in your oven, look for beans that are labeled as “green coffee beans.” These are unroasted coffee beans that are still in their natural state. Green coffee beans are suitable for roasting in an oven because they have not been pre-roasted, which can affect the flavor and roast level.
When selecting green coffee beans, it’s important to consider the characteristics of the beans. Look for beans that are uniform in size, shape, and color, as this can ensure even roasting. Additionally, consider the origin of the beans – different regions can produce different flavor profiles. Some popular coffee bean origins include Ethiopia, Colombia, and Brazil.
You can source green coffee beans from a variety of places, including online retailers and specialty coffee shops. When purchasing green coffee beans, look for high-quality beans from reputable sources. You can also ask the retailer for information about the beans, including their origin, flavor profile, and recommended roast level.
Before roasting the coffee beans in your oven, it’s important to prepare them properly. This involves cleaning and sorting the beans to remove any debris or defective beans. You can do this by hand or by using a coffee bean sorter. Once the beans are clean, you can store them in an airtight container until you’re ready to roast them.
Preparing Your Oven for Coffee Roasting
Once you’ve chosen the right coffee beans for roasting in your oven, it’s time to prepare your oven for the roasting process. Follow these steps to ensure that your oven is ready to roast coffee beans:
- Preheat your oven: Preheat your oven to 450°F (232°C) for about 15-20 minutes. This will ensure that your oven is hot enough to roast the coffee beans.
- Place a baking sheet in the oven: Place a baking sheet or shallow roasting pan in the oven to preheat. This will help distribute heat evenly during the roasting process.
- Prepare the coffee beans: While the oven is preheating, prepare the coffee beans for roasting. Measure out the desired amount of green coffee beans and spread them out in a single layer on a baking sheet.
- Place the coffee beans in the oven: Once the oven has preheated, carefully place the baking sheet with the coffee beans on the preheated baking sheet or shallow roasting pan in the oven. Be sure to wear oven mitts to avoid burning yourself.
- Roast the coffee beans: Roast the coffee beans in the oven for about 10-15 minutes, depending on your desired roast level. Check on the beans periodically and shake the baking sheet to ensure even roasting.
- Cool the roasted coffee beans: Once the coffee beans have reached your desired roast level, remove them from the oven and let them cool for at least 30 minutes. This will allow the coffee beans to cool down and develop their full flavor profile.
Steps to prepare your oven for coffee roasting, you can ensure a successful and delicious roast. Just be sure to keep an eye on the coffee beans while they’re roasting to avoid over-roasting or burning them. In the next section, we’ll go over the different roast levels and how to determine which one is right for you.
The Roasting Process
Now that your oven is preheated and your coffee beans are ready to roast, it’s time to begin the roasting process. Follow these steps to ensure a successful roast:
- Monitor the coffee beans: Keep an eye on the coffee beans as they roast. Use your senses to gauge the roast level, including the aroma and color of the beans.
- Shake the baking sheet: Shake the baking sheet every few minutes to ensure even roasting. This will help prevent uneven roasting and ensure that all the beans are roasted to perfection.
- Listen for cracks: As the coffee beans roast, they will start to crack. This is known as the “first crack,” which usually occurs around the 5-7 minute mark. Keep roasting until the second crack, which is a sign that the beans are fully roasted.
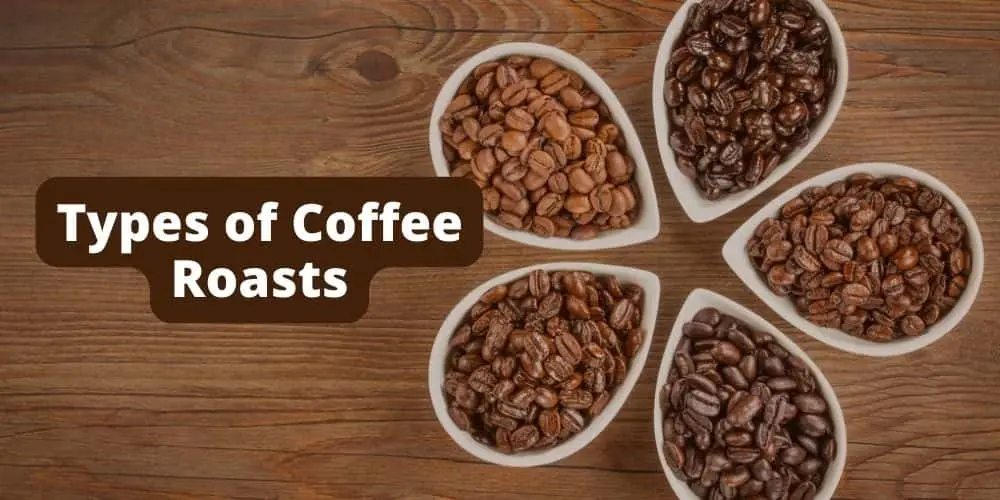
- Determine the roast level: The roast level of your coffee beans will determine the flavor profile and aroma of your coffee. There are several roast levels to choose from, including light, medium, and dark roasts. Here’s a quick breakdown of each roast level:
- Light roast: This roast level is characterized by a light brown color and a milder flavor profile. The beans are roasted until the first crack and are generally used for milder coffee varieties.
- Medium roast: This roast level is characterized by a medium brown color and a slightly stronger flavor profile. The beans are roasted until the second crack and are generally used for more balanced coffee varieties.
- Dark roast: This roast level is characterized by a dark brown color and a bold flavor profile. The beans are roasted beyond the second crack and are generally used for stronger coffee varieties.
- Cool the roasted coffee beans: Once the coffee beans have reached your desired roast level, remove them from the oven and let them cool for at least 30 minutes. This will allow the coffee beans to cool down and develop their full flavor profile.
You can ensure a successful roast and delicious coffee. Remember, the roast level you choose will determine the flavor profile and aroma of your coffee, so choose wisely. In the next section, we’ll go over how to store and grind your freshly roasted coffee beans.
Tips and Tricks for Perfectly Roasted Coffee Beans
Roasting coffee beans in your oven can be a fun and rewarding experience, but it does take some practice to achieve the perfect roast. Here are some tips and tricks to help you get the best results:

- Use high-quality coffee beans: The quality of your coffee beans will have a big impact on the flavor and aroma of your coffee. Choose high-quality, specialty-grade coffee beans for the best results.
- Preheat your oven properly: Preheating your oven to the right temperature is crucial for a successful roast. Use an oven thermometer to ensure that your oven is preheated to the correct temperature before adding your coffee beans.
- Use a timer: Timing is everything when it comes to coffee roasting. Use a timer to keep track of the roast time and make sure you don’t over or under roast your coffee beans.
- Monitor the roast closely: Keep a close eye on your coffee beans as they roast. Use your senses to determine the roast level, including the aroma and color of the beans.
- Shake the baking sheet: Shaking the baking sheet every few minutes will help ensure even roasting and prevent uneven roasting.
- Use a cooling rack: Once the coffee beans are roasted, transfer them to a cooling rack to cool down quickly. This will help prevent over-roasting and ensure that your coffee beans develop their full flavor profile.
- Store your coffee beans properly: To maintain the freshness and flavor of your freshly roasted coffee beans, store them in an airtight container in a cool, dark place.
Your coffee beans are roasted to perfection and produce delicious, flavorful coffee. With practice and patience, you’ll soon be able to master the art of coffee roasting in your own kitchen.
Conclusion
Roasting coffee beans in your oven is a great way to explore the world of coffee and experiment with different roast levels and flavors. With the right equipment, high-quality coffee beans, and a little bit of practice, you can roast coffee beans like a pro in the comfort of your own home.
Remember to choose high-quality coffee beans, preheat your oven properly, use a timer, and monitor the roast closely to ensure that your coffee beans are roasted to perfection. And don’t forget to use a cooling rack and store your coffee beans properly to maintain their freshness and flavor.
The steps outlined in this tutorial and experimenting with different roast levels and flavor profiles, you can discover your own personal favorite roast and enjoy the delicious, flavorful coffee that you’ve roasted yourself.
So go ahead and give it a try! Roasting coffee beans in your oven is a fun and rewarding experience that is sure to impress your friends and family. With a little bit of practice and patience, you’ll be able to produce delicious, perfectly roasted coffee beans that rival those of any coffee shop.
Ronsil
Meet Ronsil, the master barista behind EspressoRivo. With years of experience in the coffee industry, he brings a wealth of knowledge and passion to the table. As the owner of a successful coffee shop, Ronsil is a sought-after adviser in the field. His expertise and love for the craft shines through in every cup he serves. We are honored to have him as part of our team at EspressoRivo