If you’re a coffee enthusiast who enjoys the convenience of a Keurig K-Compact machine but finds yourself stuck trying to remove the pod holder, don’t fret. It’s a common query among Keurig users and thankfully, it’s not as tricky as it might seem at first glance.
In this guide, we’ll walk you through the step-by-step process on how to remove the pod holder from your Keurig K-Compact effortlessly.
Gather Necessary Tools
Before you start removing the pod holder from your Keurig K-Compact, it’s important to gather the necessary tools. Having the right tools on hand will make the process easier and more efficient. Here are some common tools you may need:
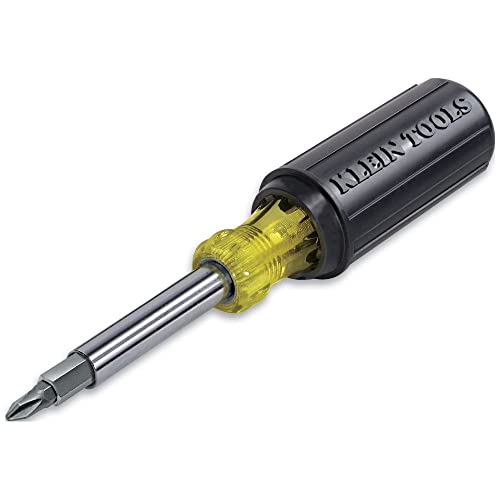
- Screwdriver: Most Keurig K-Compact models require a Screwdriver to remove the pod holder. Make sure you have the correct size that fits the screws on your specific model.
- Clean cloth or towel: Having a clean cloth or towel nearby will help you wipe down any spills or clean the pod holder during the removal process.
- Cleaning solution or descaler: Depending on the condition of your pod holder, you may need a cleaning solution or descaler to clean and remove any built-up residue or mineral deposits.
- Replacement parts (optional): If you plan to replace the pod holder or any other components, make sure you have the replacement parts ready before starting the removal process.
- Safety gloves (optional): If you prefer to wear safety gloves for added protection, make sure you have a pair of gloves that fit well and allow you to grip the tools comfortably.
Step-by-Step Guide on How to Remove Pod Holder from Keurig K-Compact
Removing the pod holder from your Keurig K-Compact coffee maker requires careful steps to avoid any damage to the machine or injuries. Follow these step-by-step instructions to safely remove the pod holder:
Step 1: Unplug Your Keurig K-Compact
Ensure that your Keurig K-Compact is unplugged from the power source to prevent any risk of electric shock or injury during the pod holder removal process. Safety should always be your top priority.
Step 2: Let Your Coffee Maker Cool Down
Allow your Keurig K-Compact to cool down completely before attempting to remove the pod holder. Hot water or steam can cause burns or injuries. It’s essential to wait for the coffee maker to reach a safe temperature.
Step 3: Open the Lid and Remove Drip Tray
Open the lid of your Keurig K-Compact and remove the drip tray. The drip tray is typically located at the bottom of the coffee maker, and it may need to be emptied before removal.
Step 4: Remove the Water Reservoir
If your Keurig K-Compact has a water reservoir, you may need to remove it to access the pod holder. Follow the manufacturer’s instructions or user manual to safely remove the water reservoir.
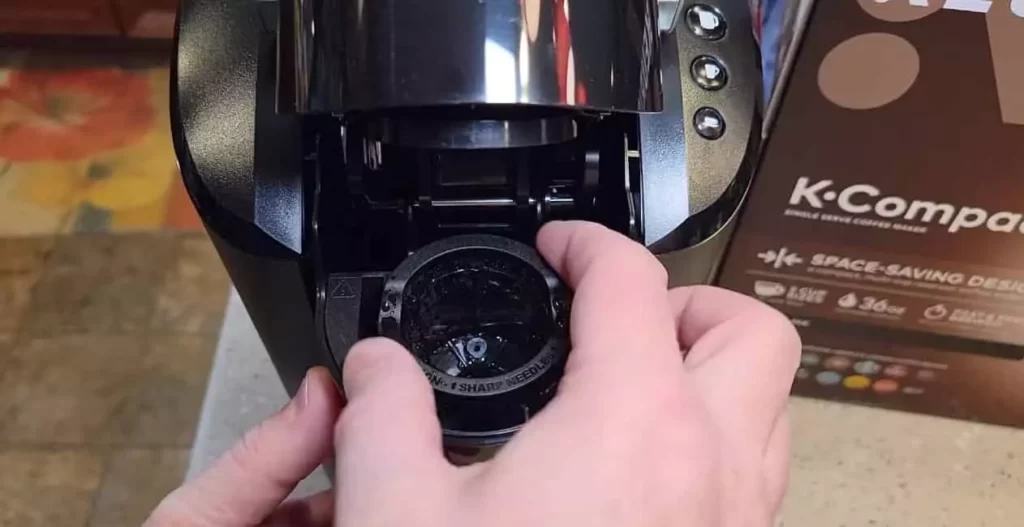
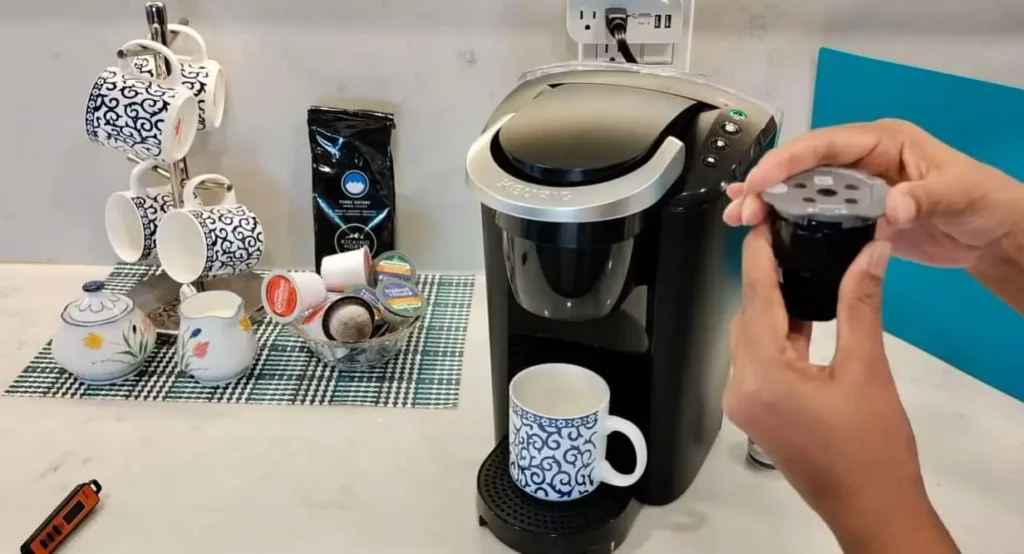
Step 5: Locate the Pod Holder
The pod holder is the part of the Keurig K-Compact where you insert the coffee pod. It’s usually located in the center of the machine, underneath where the water reservoir sits.
Step 6: Remove Screws (If Applicable)
Some Keurig K-Compact models may have screws securing the pod holder in place. If your model has screws, use a Phillips screwdriver to carefully remove them, following the manufacturer’s instructions or user manual.
Step 7: Carefully Lift and Pull the Pod Holder
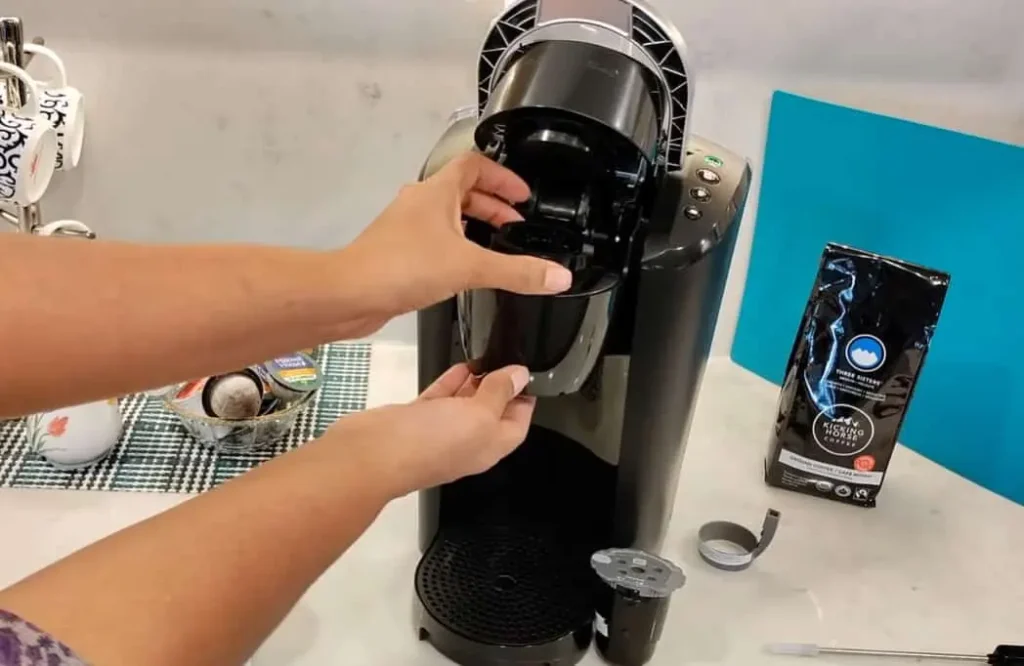
Once any screws are removed, gently lift and pull the pod holder towards you. Be cautious not to use excessive force or twist it, as this may cause damage to the machine or the pod holder itself. If you encounter any resistance, stop and double-check for any missed screws or other obstructions.
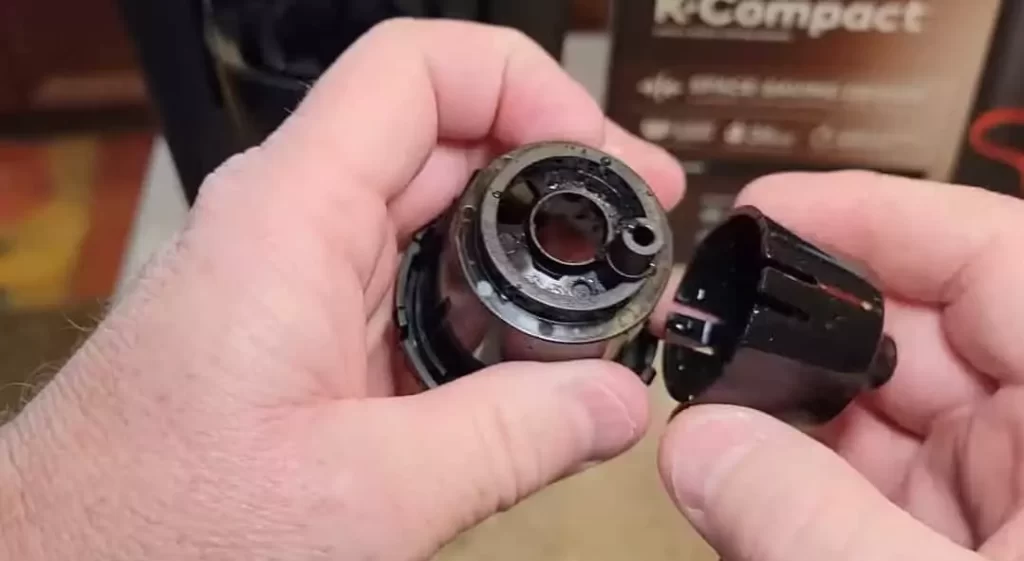
Step 8: Clean and Inspect the Pod Holder
After removing the pod holder, take the time to clean and inspect it for any residue or mineral deposits. You can use a cleaning solution or descaler, following the manufacturer’s recommendations or user manual.
Step 9: Reassemble Your Keurig K-Compact
Once you have cleaned and inspected the pod holder, reassemble your Keurig K-Compact by following the steps in reverse order. Make sure to securely reattach the pod holder, water reservoir, and drip tray, and plug in your coffee maker.
Related Read: How To Clean Your Keurig K-Compact With Vinegar
Tips for a Smooth Removal Process
- Be Gentle: The key here is gentle pressure. Avoid using excessive force as this could cause damage to your Keurig K-Compact.
- Check for Obstructions: Sometimes, debris or dried coffee grounds might obstruct the pod holder from being removed smoothly. Clean the area around the holder to ensure easy removal.
- Take Your Time: Rushing through the process might lead to mistakes. Take it slow and steady, following each step carefully.
Cleaning and Maintenance
Regular cleaning and maintenance of your Keurig K-Compact coffee maker, including the pod holder, is essential to ensure optimal performance and longevity. Here are some tips for cleaning and maintaining the pod holder:
Clean the Pod Holder After Each Use: After brewing a cup of coffee, remove the used coffee pod and discard it. Open the pod holder and rinse it thoroughly under running water to remove any remaining coffee grounds. Use a soft brush or cloth to clean the pod holder, paying attention to the puncture needle and the surrounding area to remove any coffee residue.
Descale the Pod Holder: Over time, mineral deposits from hard water may accumulate in the pod holder and affect its performance. To descale Keurig K-Compact, mix equal parts of water and white vinegar and use the solution to clean the pod holder. Rinse thoroughly with water to remove any vinegar residue.
Check for Clogs: If you notice any clogs in the puncture needle or the pod holder, use a straightened paperclip or a needle to gently unclog them. Be careful not to damage the puncture needle or other parts of the pod holder.
Dry Thoroughly: After cleaning, make sure to dry the pod holder thoroughly before reassembling it. Moisture can promote mold and bacterial growth, which can affect the taste and quality of your coffee.
Regularly Clean the Exterior: Wipe the exterior of the Keurig K-Compact coffee maker, including the pod holder, with a damp cloth to remove any coffee spills, stains, or debris. Avoid using abrasive cleaners or scouring pads that may scratch the surface of the coffee maker.
Follow Manufacturer’s Maintenance Recommendations: Refer to the manufacturer’s instructions or user manual for specific maintenance recommendations for your Keurig K-Compact model. Follow the recommended cleaning and maintenance schedule to ensure optimal performance and durability.
Read Also: Keurig K Compact Not Brewing
Replacing the Pod Holder
In some cases, you may need to replace the pod holder in your Keurig K-Compact coffee maker. Here are some steps to guide you through the process:
Purchase a Replacement Pod Holder: If you determine that your pod holder is damaged, worn out, or no longer functioning properly, you will need to purchase a replacement pod holder. You can usually find genuine Keurig replacement parts, including pod holders, online or from authorized retailers.

Power Off and Unplug Your Coffee Maker: Before attempting to replace the pod holder, make sure to power off your Keurig K-Compact coffee maker and unplug it from the electrical outlet for safety.
Open the Pod Holder Assembly: Lift the handle of your Keurig K-Compact coffee maker to open the pod holder assembly. Depending on the model, you may need to remove any remaining coffee pod before proceeding.
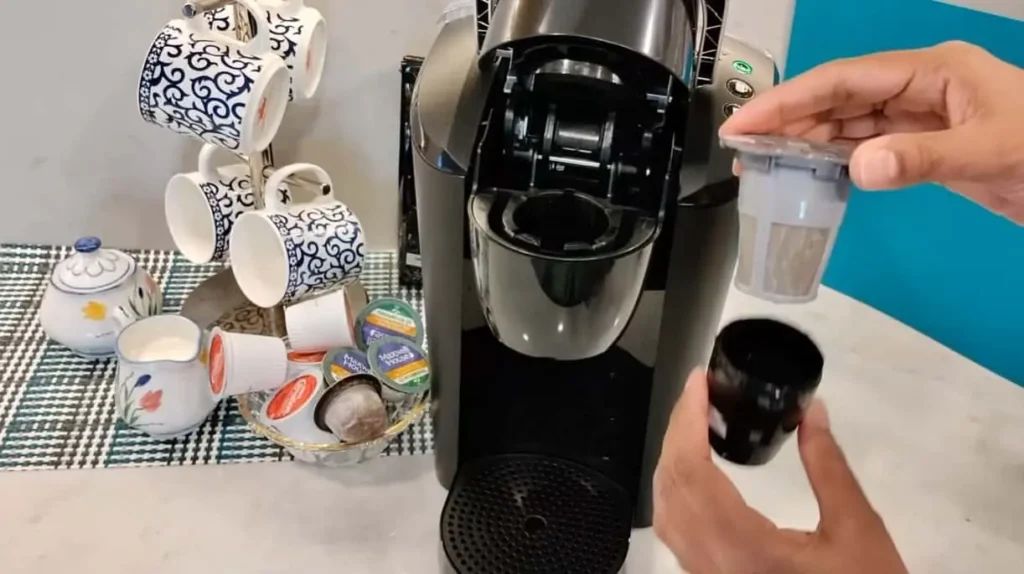
Remove the Old Pod Holder: Once the pod holder assembly is open, you can carefully remove the old pod holder by gently pulling it out. Be sure to grip it firmly and avoid applying excessive force to prevent any damage.
Insert the New Pod Holder: Take your new replacement pod holder and align it with the pod holder assembly. Insert it firmly and ensure that it is properly seated and securely in place.
Close the Pod Holder Assembly: Lower the handle of your Keurig K-Compact coffee maker to close the pod holder assembly. You should hear a click or feel a snap, indicating that the pod holder is locked in place.
Power On and Test: Plug in your Keurig K-Compact coffee maker, power it on, and perform a test brew with a new coffee pod to ensure that the replacement pod holder is working properly.
Replacing the pod holder in your Keurig K-Compact coffee maker can be a relatively simple process, but it’s important to follow the manufacturer’s instructions and handle the parts with care to avoid any damage or accidents.
Conclusion
With these easy steps, removing the pod holder from your Keurig K-Compact becomes a straightforward task. Remember, a little patience and gentle handling go a long way in ensuring the smooth functioning of your coffee maker.
Keep in mind, this guide is specifically for the Keurig K-Compact model. If you encounter any difficulties or have a different Keurig model, it’s advisable to consult the user manual or reach out to Keurig customer support for personalized guidance.
Now that you’ve mastered the art of removing the pod holder, enjoy your hassle-free coffee brewing experience with your Keurig K-Compact!
A. I. Moon
A.I. Moon, an experienced SEO Pythonista, spends his days coding and developing web applications to help business owners. A passionate coffee enthusiast, he believes that drinking coffee fuels his creativity and productivity. His day isn't complete without the rich aroma and invigorating warmth of a perfectly brewed cup. This love for coffee inspired him to found EspressoRivo, a platform dedicated to sharing his coffee knowledge and fostering a community of passionate aficionados.