Ah, the comforting aroma of freshly brewed coffee wafting through your home is undoubtedly one of life’s simple pleasures. But did you know that to keep that coffee consistently delicious, your coffee maker requires regular cleaning?
Over time, mineral deposits, oils, and residue from coffee grounds can build up in your machine, affecting the taste and quality of your brew.
Fear not! With a few simple steps, you can easily clean your coffee maker and keep those aromatic cups of joy coming.
What You’ll Need:
White vinegar
Water
Dish soap
A soft-bristled brush or sponge
A clean cloth or paper towels
Your coffee maker’s manual (for specific instructions, if available)
Step 1: Read the Manual
Before diving into the cleaning process, it’s wise to consult your coffee maker’s manual. It may contain manufacturer-specific instructions on cleaning and maintenance, including any parts that may or may not be dishwasher-safe. Understanding your machine’s specific needs will ensure a proper cleaning routine without damaging any components.
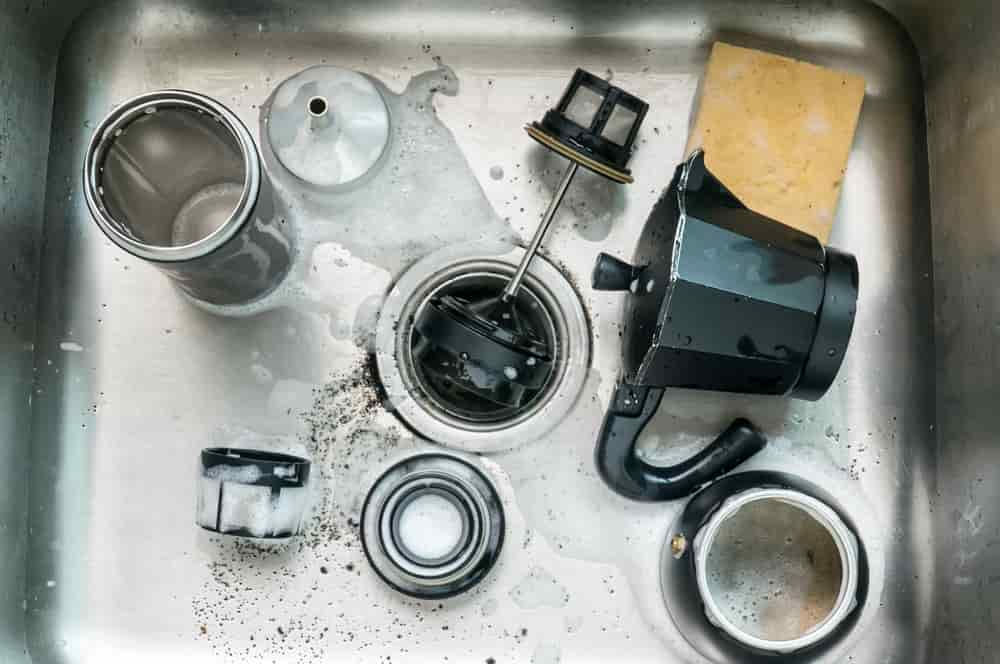
Step 2: Wash Removable Parts
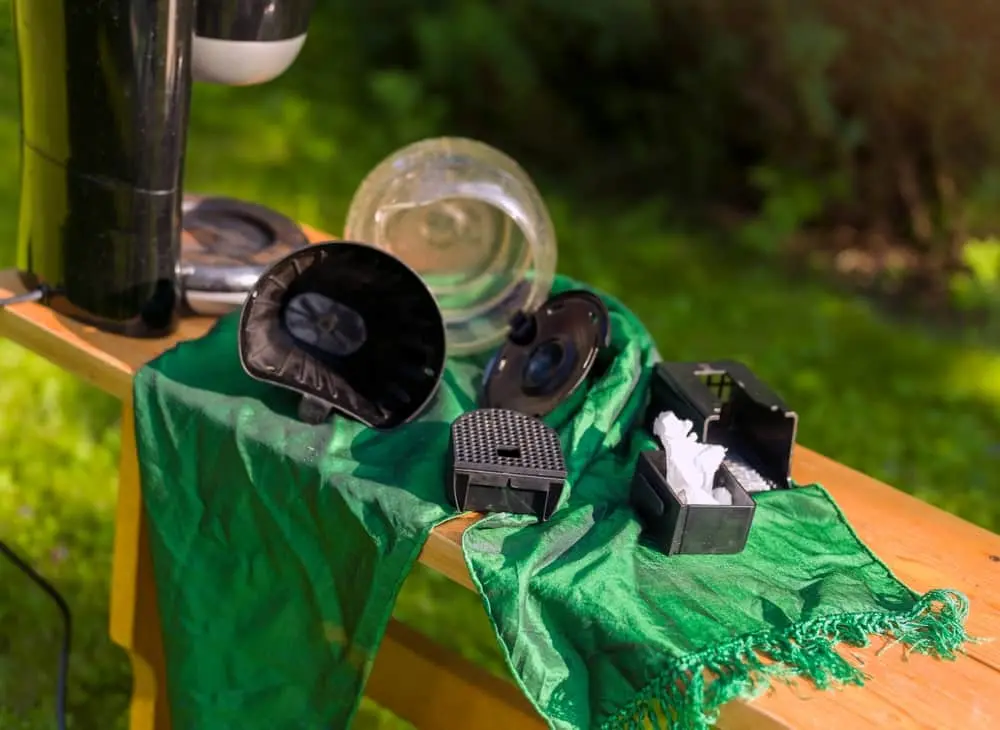
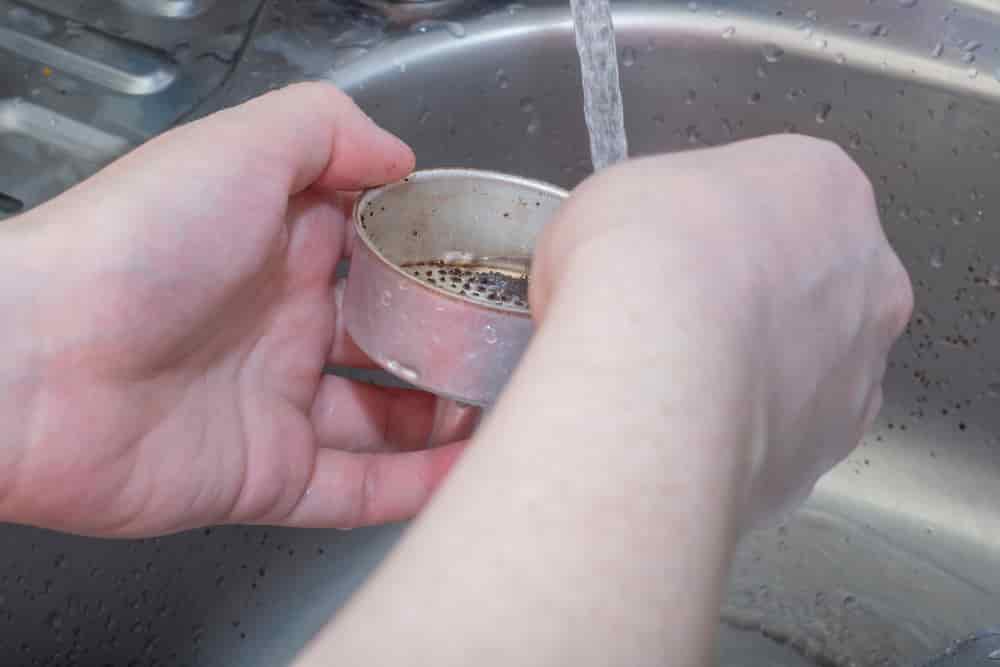
Begin by unplugging your coffee maker and disassembling any removable parts such as the carafe, filter basket, and water reservoir. Wash these parts with warm, soapy water, using a soft sponge or brush to scrub away any coffee oils or residue. Rinse thoroughly and set them aside to dry completely.
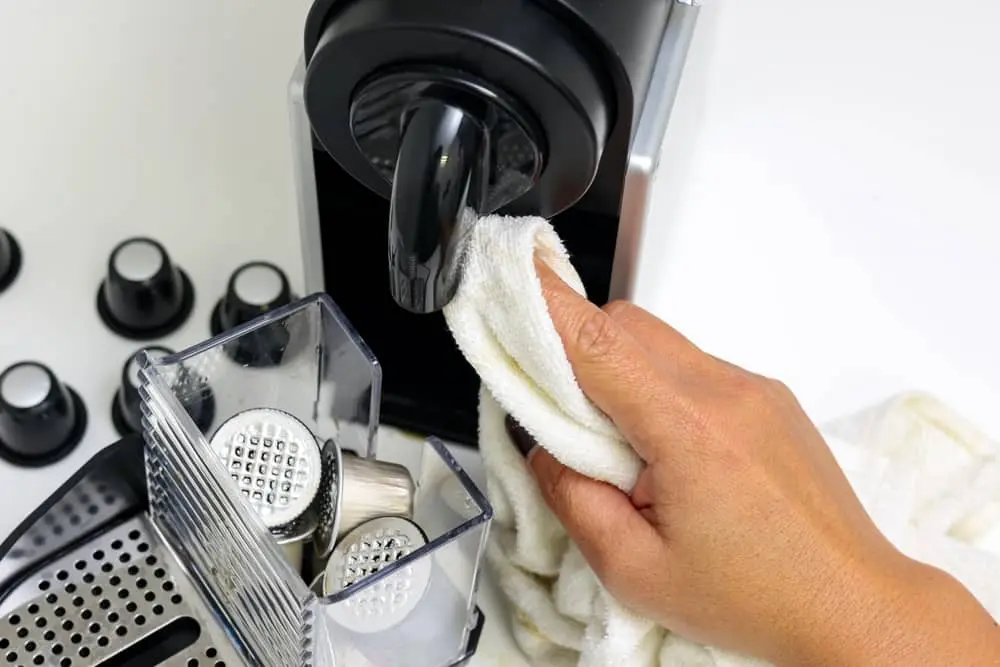
Step 3: Clean the Exterior
While the removable parts dry, wipe down the exterior of the coffee maker with a damp cloth or paper towel. Pay special attention to any areas where coffee spills or stains might have accumulated. For stubborn stains, a gentle scrub with a mild solution of water and dish soap should do the trick.
Step 4: Descale with Vinegar
Descaling is crucial to remove mineral buildup inside the machine, which can affect the taste of your coffee. Fill the water reservoir with equal parts white vinegar and water. Run a brewing cycle without any coffee grounds. Halfway through the cycle, turn off the machine and let the solution sit in the reservoir for about 15-30 minutes to break down the mineral deposits. Then, complete the cycle.
Step 5: Rinse and Brew Plain Water
Once the vinegar-water mixture has run through the machine, run a couple of cycles with plain water to thoroughly rinse out any remaining vinegar taste. This step helps ensure that your next brew won’t taste like vinegar.
Step 6: Reassemble and Brew
After completing the cleaning process and ensuring that all parts are dry, reassemble your coffee maker. Fill the water reservoir with fresh, clean water, place a new filter in the basket, add your coffee grounds, and brew a test pot. Dispose of this initial brew to clear out any remaining cleaning residue.
Cleaning Coffee Makers with Vinegar
It is necessary to clean your coffee maker in such a way that it can work for long. If you are used to using your coffee maker after weeks, it is more satisfying to clean it thoroughly. And, vinegar can help you in coffee makers’ complete washing. For cleaning your coffee maker with vinegar, you will need the following things:
- Water
- White vinegar
- Hot soapy water
- Sponge
- Damp dish towel
- Dry dish towel
By following these instructions, you can clean your coffee maker with vinegar:
Empty your carafe and grounds:
First of all, you need to empty and rinse your carafe and dump out if there are any coffee grounds left in the filter. Complete removal of left out is necessary.
Make your cleaning solution:
You can prepare your coffee maker cleaning solution yourself. For making your cleaning solution, you will need to add one-part water to one part of vinegar.
Pour the cleaning solution into the water chamber:
Fill the water chamber to its full capacity with the cleaning solution you made with water and vinegar.
Run a half brew cycle:
Start a brew cycle and in the midway, turn off your coffee maker and let it stir for an hour.
Finish the brew cycle:
After an hour, the brew cycle will get finished once you turn on the coffee maker.
Discard the vinegar solution and run a freshwater cycle:
After the brew cycle has completed, pour out the vinegar solution, and fill the water chamber with the only freshwater. Run a whole new water cycle with water. You need to repeat it, two times allowing your coffee maker to slightly cool between the two brews.
Wipe your coffee maker:
Lastly, you need to wipe the exterior part of the coffee maker, wash the carafe, and the filter basket in hot soapy water.
Now reassemble your coffee maker, and your coffee maker will be ready to brew the best coffee for you.
By following these easy steps, you can clean your coffee maker efficiently with vinegar and enjoy your coffee again.
Related Read: How To Clean Oxo Coffee Maker
Cleaning Coffee Makers without Vinegar
Vinegar is not a necessary ingredient to clean your coffee maker. There are different options for cleaning your coffee maker other than vinegar. You can clean your coffee maker by lemon, baking soda, bleach, hydrogen peroxide, CLR, etc.
Lemon is the substitute instead of vinegar in case of cleaning coffee maker. You need to follow these steps for cleaning a coffee maker without vinegar but with lemon.
Making a solution:
You need to prepare a solution with 50% lemon juice and 50% water, and the volume of the solvent depends on the size of your coffee maker.
Clean removed parts:
It has recommended cleaning all the removed parts first like a filter, nozzle, etc. before starting the cleaning cycle. Then it might get sufficient for cleaning your coffee maker.
Filling the reservoir with a solution:
Before you start your cleaning process, you need to empty the coffee maker, and it is a must evacuating the water which remains in the reservoir. Then you need to fill up the store with the solvent you have made with lemon juice and water and hit the brew button. You need to brew about one whole carafe, and you cannot use it and coffee while you’re doing that.
Complete your cleaning cycle:
When you observe that the carafe is about half full, you need to switch off the machine and let it rest for about half an hour. After doing the first half, switch it on again to complete the second half. When the cleaning cycle has done, wash it with fresh water with no lemon juice, and then your coffee maker has to get cleaned.
If you follow these easy steps, you can get a delightful sip of coffee every time you use it.
Lifehacker made an awesome video for you. I hope it will help. Let’s watch it!
Read Also: Cleaning Your Battery Operated Coffee Maker
Conclusion
Congratulations! Your coffee maker is now clean and ready to brew your favorite cup of joe. Remember, regular maintenance and cleaning—typically once a month—will keep your machine in excellent condition and ensure consistently great-tasting coffee.
By following these simple steps, you’ll not only prolong the life of your coffee maker but also elevate your coffee experience, sip after sip.
So, go ahead, brew that perfect cup, and savor the deliciousness that a clean coffee maker can offer!
Happy Brewing!
A. I. Moon
A.I. Moon, an experienced SEO Pythonista, spends his days coding and developing web applications to help business owners. A passionate coffee enthusiast, he believes that drinking coffee fuels his creativity and productivity. His day isn't complete without the rich aroma and invigorating warmth of a perfectly brewed cup. This love for coffee inspired him to found EspressoRivo, a platform dedicated to sharing his coffee knowledge and fostering a community of passionate aficionados.