The burr grinder is surely one of the best investments that you can have in your kitchen. After the excitement and satisfaction that comes with grinding your own coffee at the comfort of your home, the next thing worth knowing is how to clean a burr grinder.
The ground coffee particles always spread to the various parts of your grinder. This way, they eventually clog the moving parts of the grinder and may eventually result in bringing the machine to a stop or reducing its efficiency to a stop. Regularly cleaning your grinder also ensures that your grinder gets to stay in good condition for long.
The accumulated oils from every brew also affect the resultant taste of your coffee.
To ensure that every cup of your homemade coffee is of a delicious taste, you have to clean the grinder regularly.
This article will inform you of how frequently you should clean your burr grinder, what you will need for the process, and the actual procedure of how to clean a burr grinder.
How often should you clean the Burr Grinder
It depends on the intensity of the cleanliness that you want to administer on your burr grinder.
Here is a simple guide:
- Everyday– Dusting off excess grounds
- Every week or 2– Wipe out the hopper and grind chamber
- Every 3 to 6 months– Deep clean
What you will need for the cleaning process
You will need the following items:
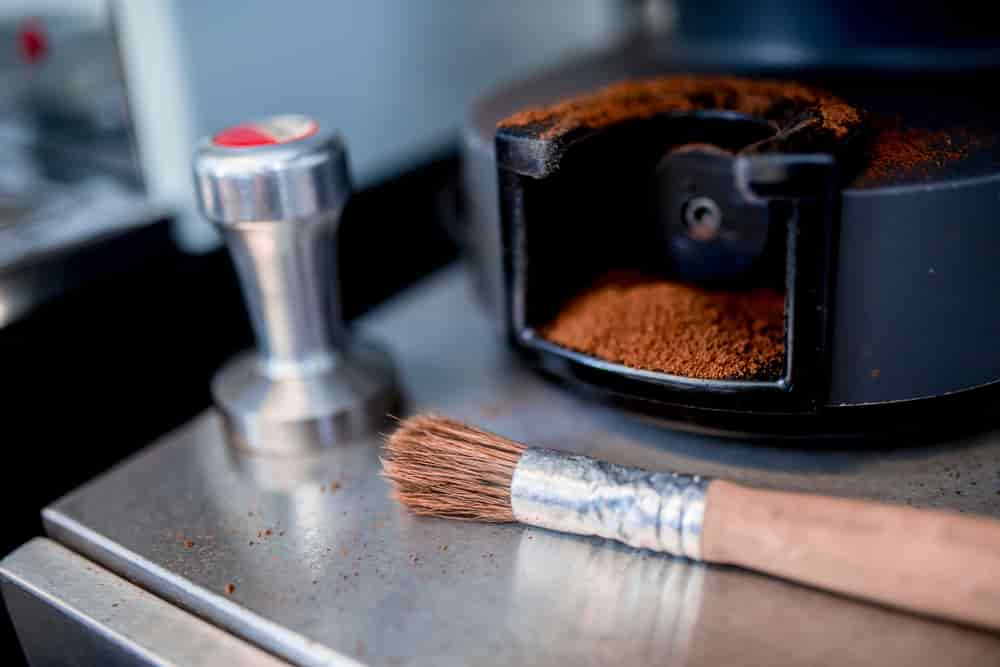
● A soft brush
● Wood toothpicks and cotton swabs
● Grinder cleaning pellets
● Coffee beans
● Screwdriver
The Burr Grinder Cleaning Process
Here are the step-by-step process to clean your burr grinder:
- Turn off and unplug your grinder
- Remove the hopper and grind chamber.
- With a lint-free cloth, wipe them to remove any coffee dust and oil build-up. Paper towels will leave lint, so don’t use it.
- Clean any stubborn residue or coffee with warm soapy water.
- Be quick to rinse them to prevent contamination by soap flavor.
- Also, dry them fully so that the burrs or motor don’t stay wet. Wet motor/burr may cause corrosion.
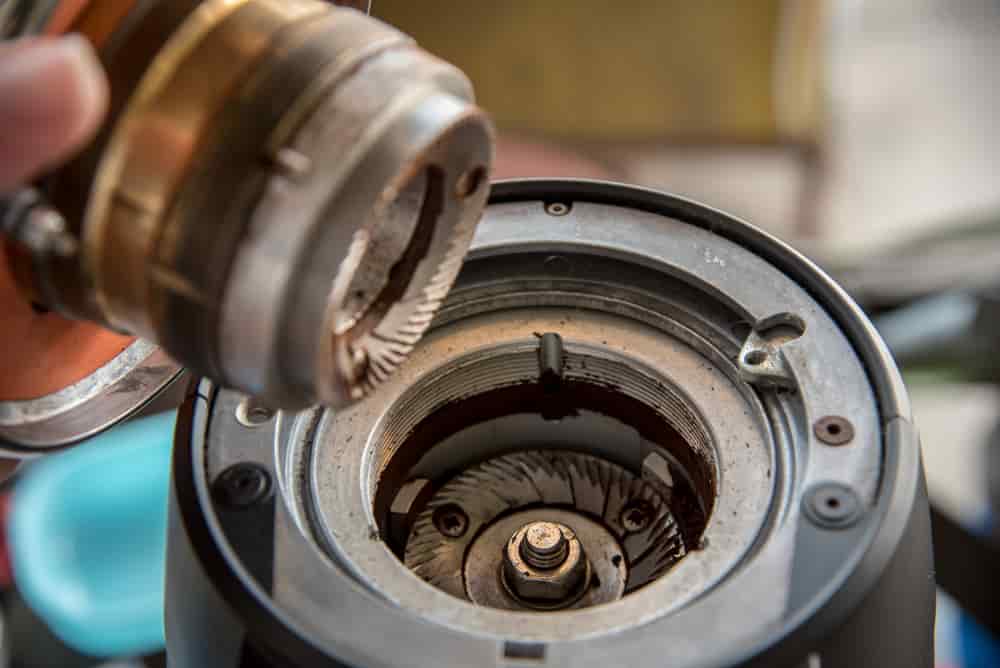
- Remove the outer burr. This is done by gently twisting to the point where it lifts out of the grinder. Let the inner burr remain inside because it is much more problematic to remove.
- Reach out to any place reachable and clean all the burrs. This can involve the use of tools like a vacuum, compressed air, toothpick, brush, and lint-free cloth.
- You can reassemble your coffee grinder
- Grind a few grams of coffee (20gms)
This video from HowcastFoodDrink will help you more:
That’s all about the process. The whole process should take you 15 minutes tops.
The final step above, by the way, (grinding some coffee) helps to calibrate the burrs.
A layer of coffee oil prevents oxidation and rust. The grinding provides that important coating.
If you encounter any trouble with the disassembling of any piece, you can consult your owner’s manual.
I believe that you now know how to clean a burr grinder. As this article has shown it, it is time to get your tools ready and have your grinder shining again.
A. I. Moon
A.I. Moon, an experienced SEO Pythonista, spends his days coding and developing web applications to help business owners. A passionate coffee enthusiast, he believes that drinking coffee fuels his creativity and productivity. His day isn't complete without the rich aroma and invigorating warmth of a perfectly brewed cup. This love for coffee inspired him to found EspressoRivo, a platform dedicated to sharing his coffee knowledge and fostering a community of passionate aficionados.